
DIY Installation Tips for Smart Home Blinds


Understanding Smart Home Blinds
Smart home blinds are a fantastic addition to any home, offering convenience and energy efficiency. With the ability to be controlled remotely via a smartphone app or voice assistants, these blinds can significantly enhance your living space. Whether you're looking to regulate sunlight or improve privacy, smart blinds are an excellent choice.

Before diving into installation, it's crucial to understand the type of smart blinds that best suit your needs. Options range from battery-powered to hardwired systems, each with different installation requirements. Knowing the specifics will help ensure a smooth DIY process.
Gathering the Necessary Tools
Before starting any installation, it's essential to gather all necessary tools and materials. For smart home blinds, you will typically need:
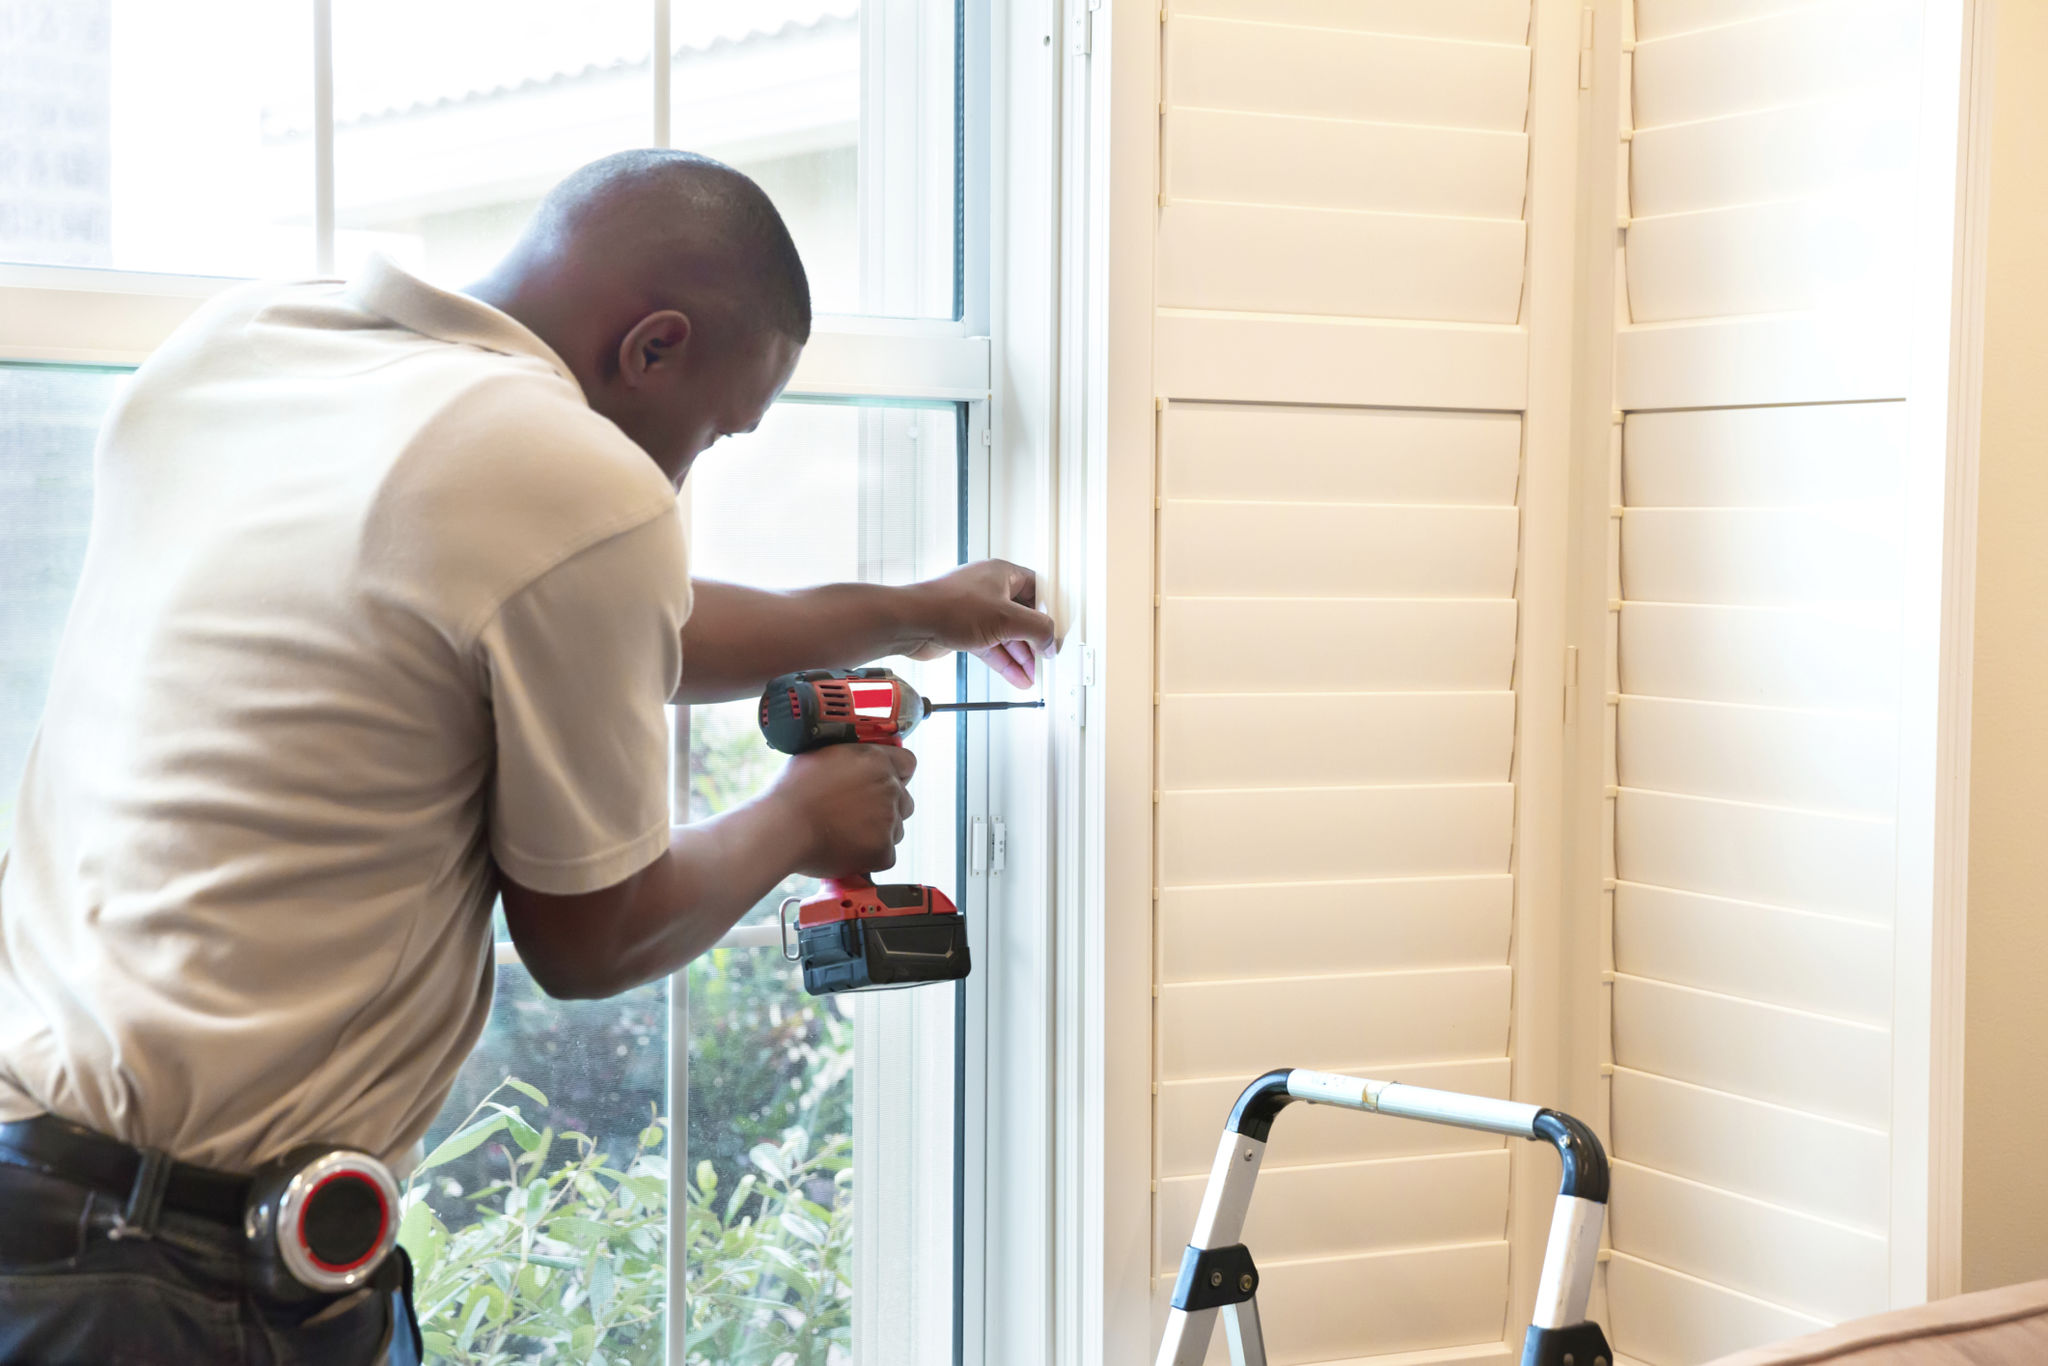
- A power drill with drill bits
- A screwdriver set
- A measuring tape
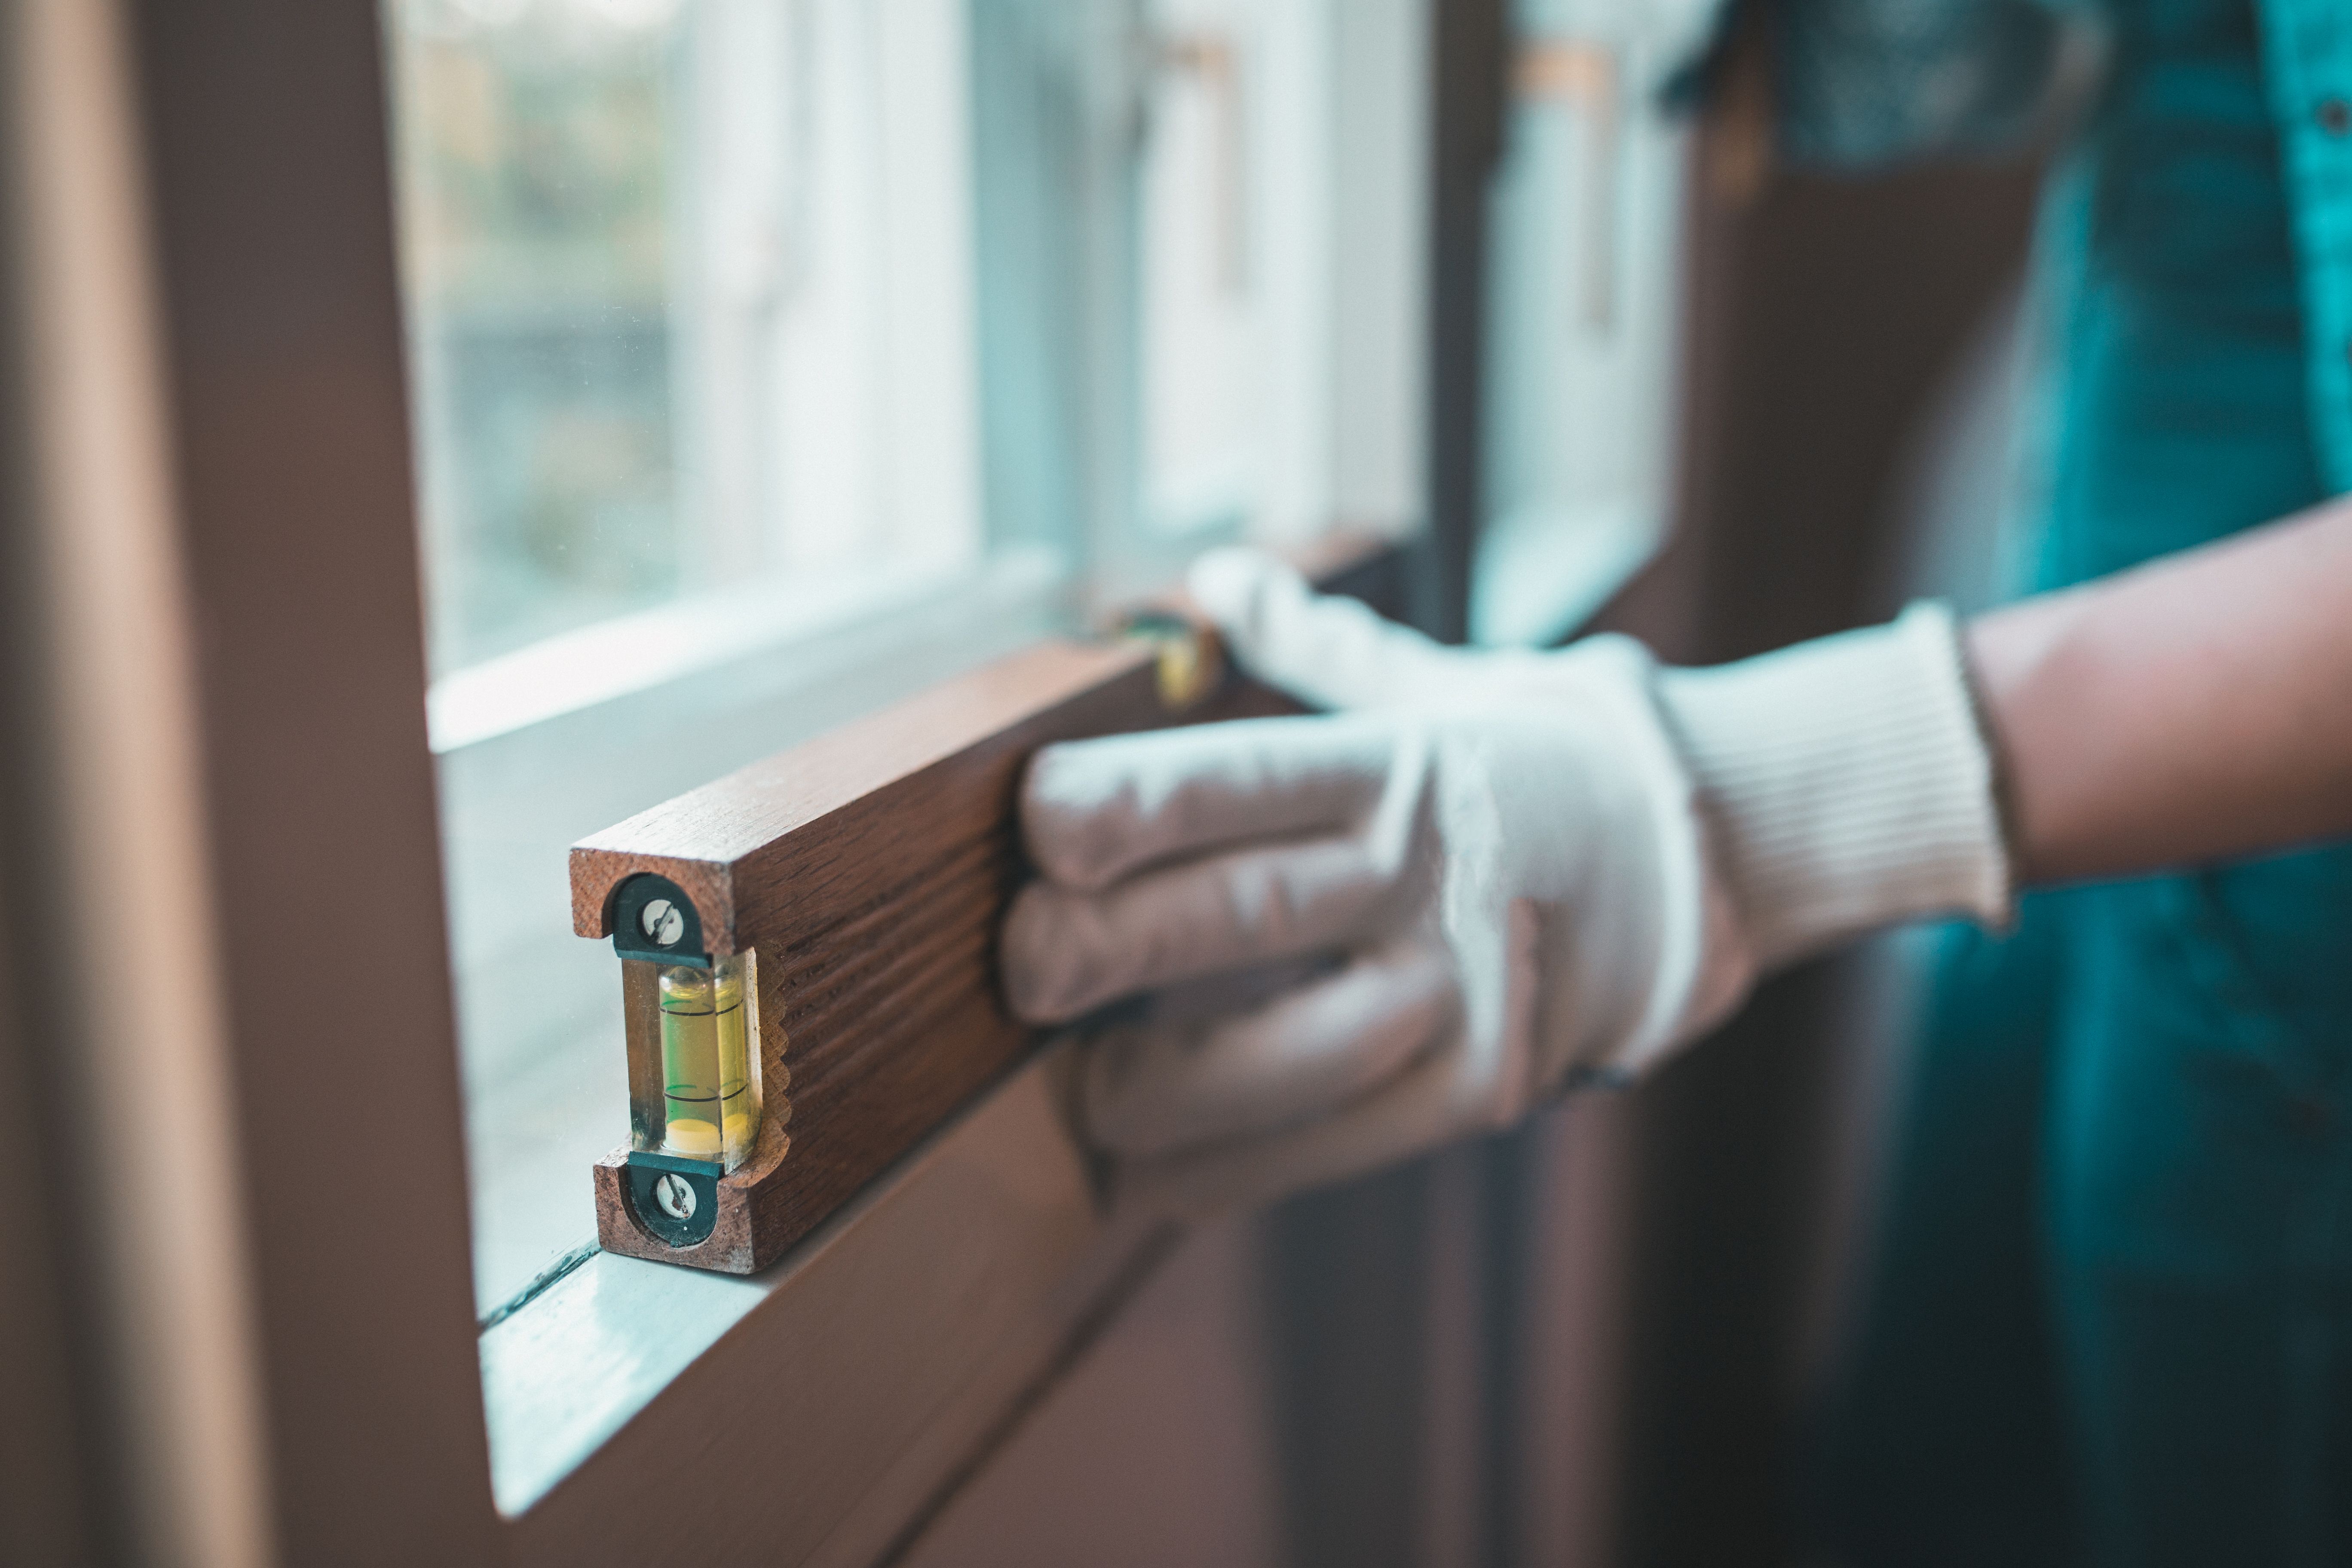
- A level
- Mounting hardware (often included with the blinds)
Having these tools on hand will streamline the installation process and help avoid unnecessary delays.
Accurate Measuring for Perfect Fit
Accurate measurements are critical for ensuring that your smart blinds fit perfectly. Start by measuring the width and height of your window frame. Make sure to measure at least twice to avoid any errors. Consider whether you want an inside or outside mount, as this will affect your measurements.
For an inside mount, measure the exact width of the window frame and subtract a small amount to ensure a snug fit. For an outside mount, add extra width to cover the entire window area effectively.
Installation Process
With your measurements in hand, you can begin the installation process. Follow these general steps for most smart home blinds:
- Mark the Bracket Positions: Use a pencil to mark where the brackets will be installed based on your measurements.
- Drill Pilot Holes: Use a drill to make pilot holes for the screws. This helps prevent the wood from splitting and makes it easier to install the brackets.
- Install the Brackets: Secure the brackets using screws, ensuring they are level and properly aligned.
- Attach the Blinds: Carefully snap or hook the blinds into place on the brackets.
Connecting Smart Features
Once your blinds are securely attached, it's time to connect their smart features. Most smart blinds will come with a companion app that allows you to control them remotely. Download the app on your smartphone and follow the instructions for pairing it with your blinds.
If your smart blinds are compatible with voice assistants like Alexa or Google Assistant, integrate them to control your blinds using voice commands. This feature adds an extra layer of convenience and automation to your setup.
Troubleshooting Common Issues
If you encounter any issues during installation, don't worry—most problems have straightforward solutions. For example, if the blinds aren't responding to commands, check that they are properly connected to your Wi-Fi network and that the app is up-to-date.
If the blinds aren't level, double-check your bracket placement and adjust as needed. It's also useful to consult the manufacturer's manual for specific troubleshooting tips related to your model.
Maintenance Tips for Longevity
Proper maintenance can extend the life of your smart home blinds significantly. Regularly dust and clean the blinds using a soft cloth or vacuum with a brush attachment. Avoid using harsh chemicals that might damage the material or interfere with electronic components.
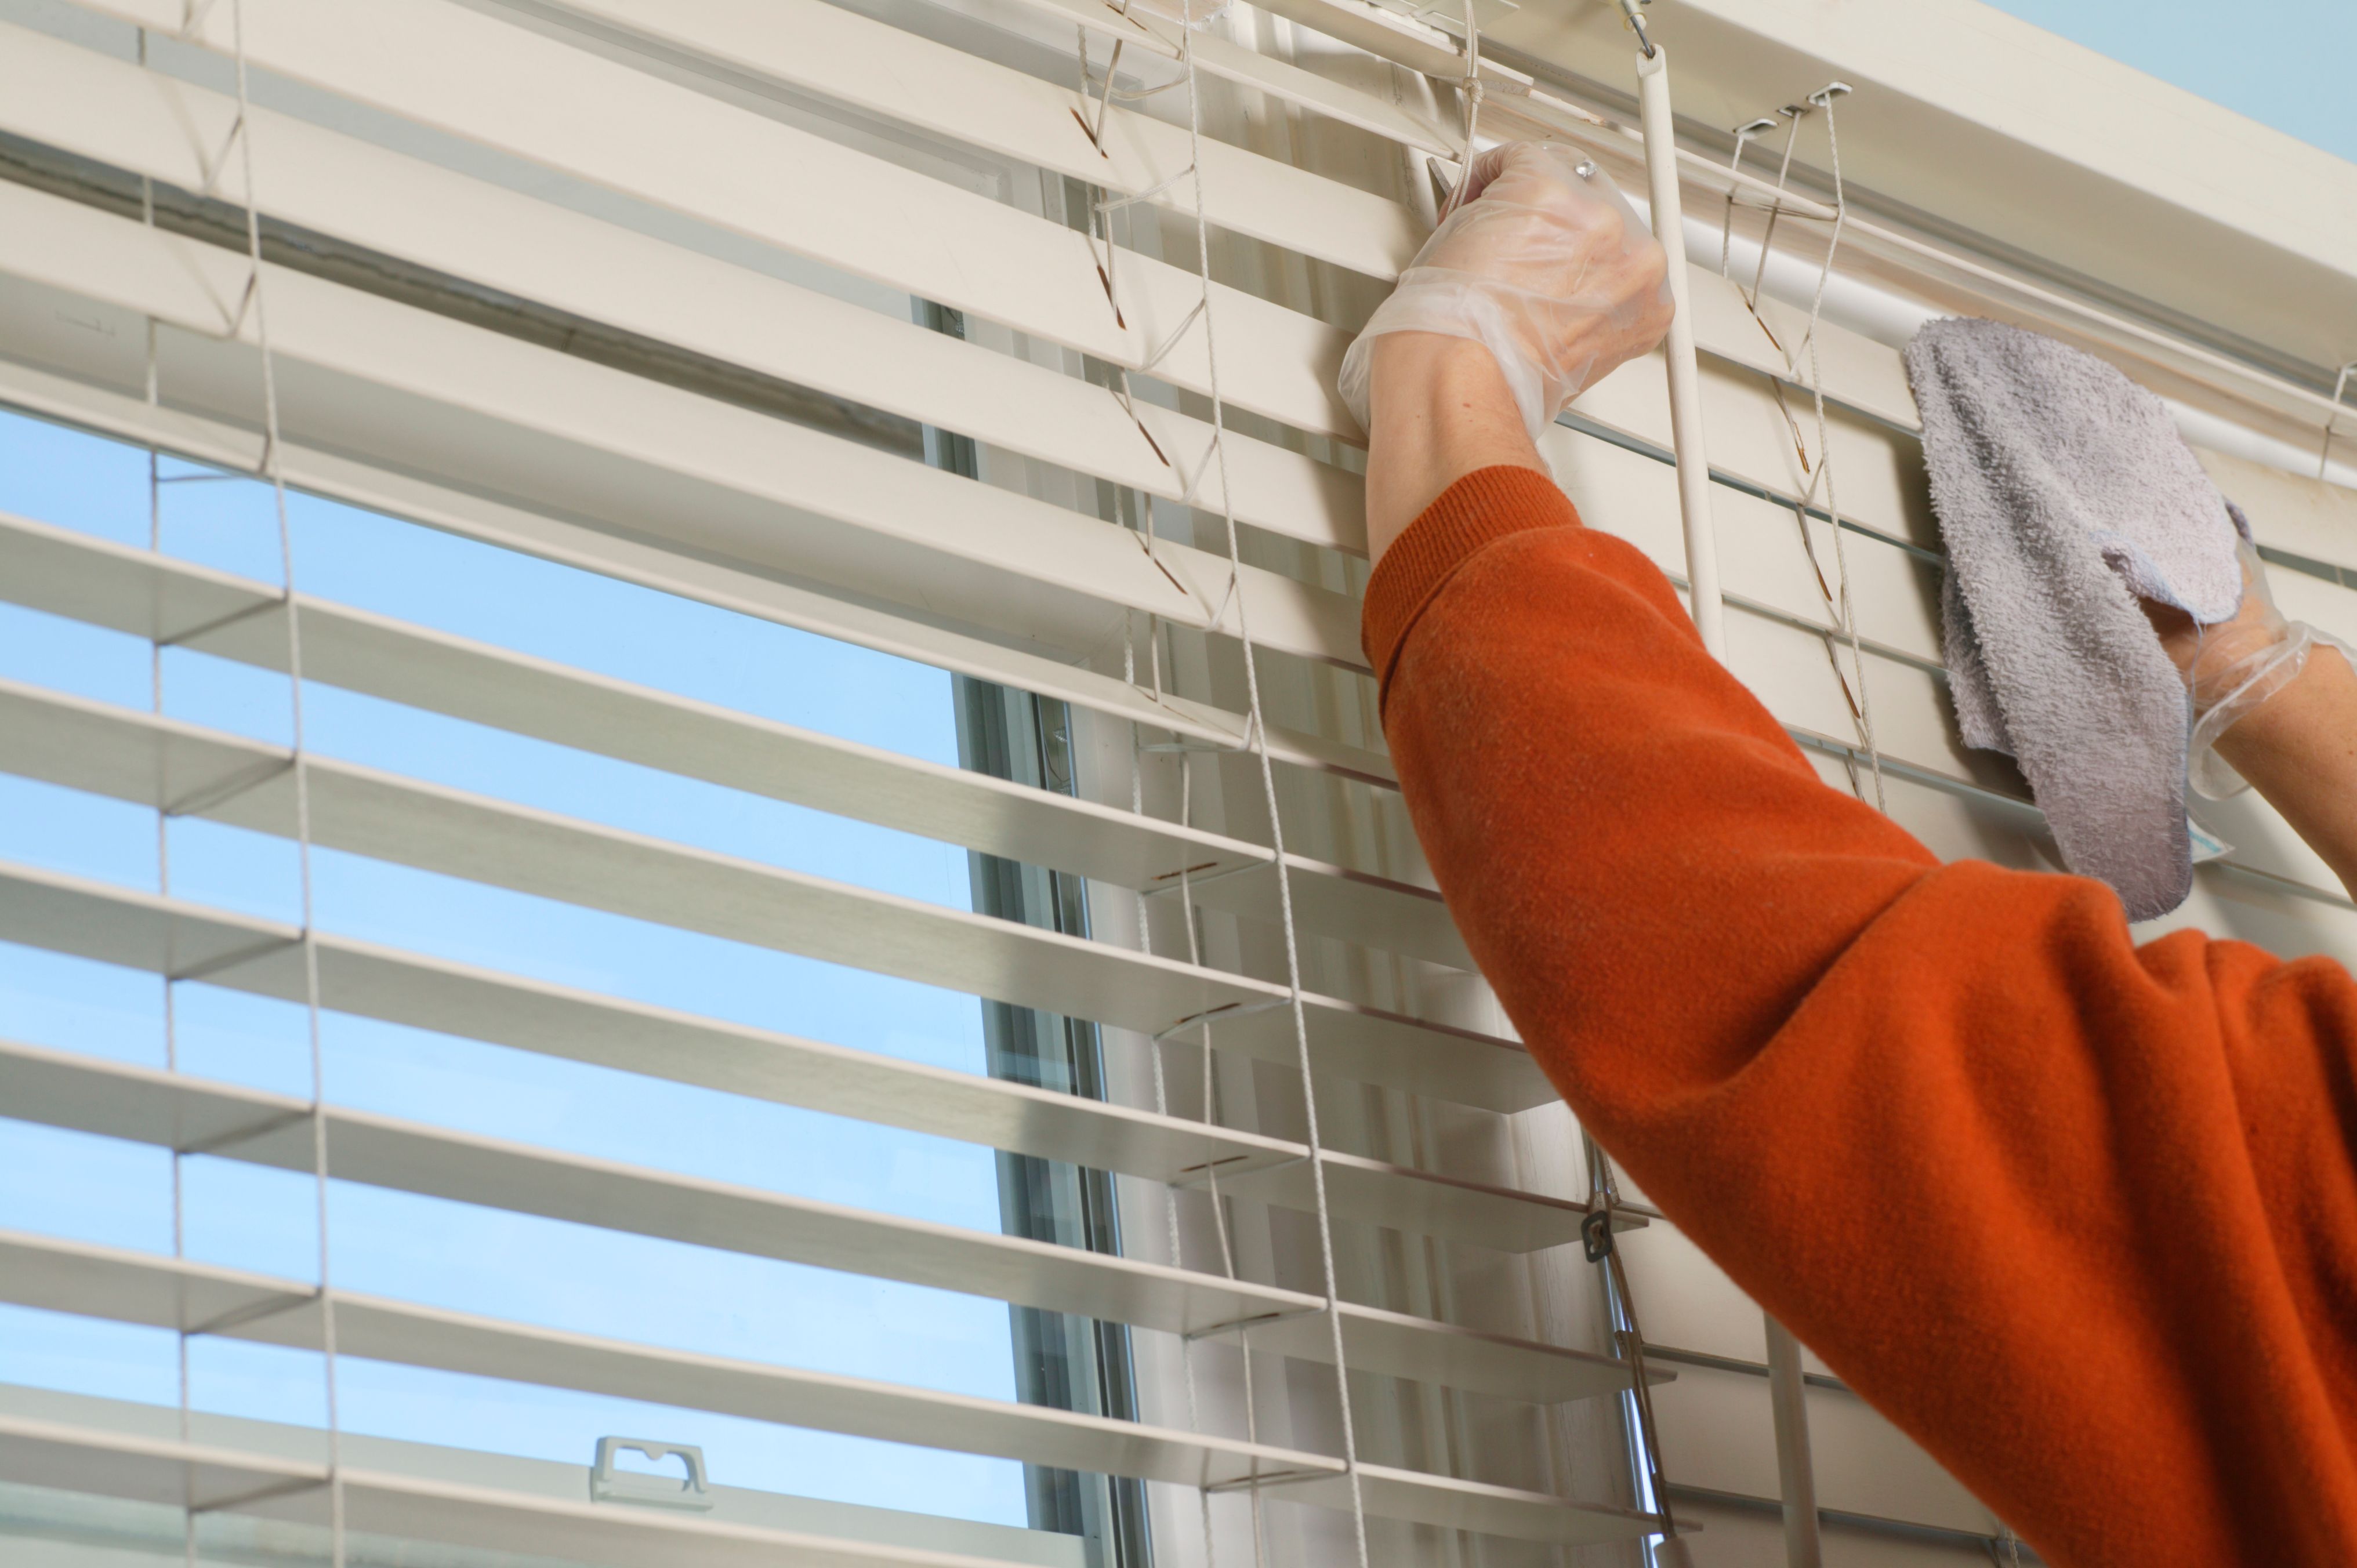
Additionally, periodically check that all connections remain secure and that there are no obstructions in their operation. This will ensure they continue functioning smoothly for years to come.